Photography Tours & Trips to Explore in 2019

By Lori Janeson

Arguably one of the greatest parts about taking a trip is capturing everything on film. Not only does this help cement the fantastic memories you’ve made for years to come, but let’s face it: it also makes your Instagram a whole lot more interesting.

In the digital age, more and more people are combining their love of travel and amateur photography by setting off on photography tours. The first (and most important) of a photography tour is picking a location. That’s why we’ve put together a list of three fantastic locations close to home you need to explore in 2019.

1. Hecla Island, Manitoba

Situated just two hours away from Winnipeg, Hecla Island is a hidden gem that will let you unwind while you satisfy your inner shutterbug.


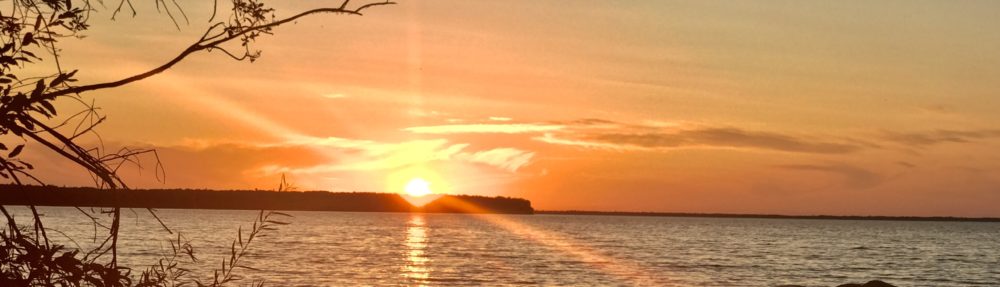
“This island paradise is the perfect place for photographers and wildlife enthusiasts alike, thanks to the breath-taking, untouched scenery.” — Lori Janeson


From limestones quarries to the aptly named sunset beach or the famous Grassy Narrows Marsh, you’ll fill your SD card in no time.

If history’s your thing, don’t forget to stop by Gimli village in August to see Nordic heritage come to life at the hugely popular, annual Icelandic festival. As tempting as it will be to do and see everything the island has to offer, remember that one of the best parts about Hecla Island is its slow and rejuvenating pace.

2. Grand Canyon, Arizona

Listed as one of the 7 Wonders of the World, it’s no surprise that The Grand Canyon is a common choice for photography tours. The mile-deep canyon truly shines at sunset, so be sure to head to Hopi Point on the South Rim for a screensaver-worthy view of the sun setting on the canyon’s glorious red gold landscape.

If you’re also a nature lover, keep an eye out for the grey fox, mule deer and bighorn sheep that call the South Rim home.

3. Whistler, British Columbia

For a chance of pace (and climate!), head to Whistler for a chance to capture some truly stunning winterscapes. This romantic pedestrian-only Village is best enjoyed with one hand on your camera and the other on your partner’s (particularly if they’re also an avid photographer). Not only will the surreal, snow-blanketed mountain provide some gorgeous photo opportunities, but it’s also a great place to unwind, relax and even try your hand at skiing!

For the perfect shot, make your way to the Callaghan Valley. Here, you’ll get a clear view of Black Tusk, the last remaining portion of a now dormant volcano. Another truly Instagrammable view can be found just South of Whistler, in the form of Brandywine Falls, a 70 metre waterfall studded with snow.

For an unforgettable photography tour, do your research. Once you’ve decided on the perfect location, look for tours with a high instructor to student ratio and a pace that lets you enjoy each destination before moving on. Happy snapping!


Lori Janeson is a nature photographer living in Winnipeg, Manitoba.

5 Tips for Taking Captivating Shots With the iPhone X

By Lori Janeson

Whenever a new iPhone comes out, it’s not unusual for die-hard Apple fans queue overnight for a chance to get their hands on it. For some, a new handset means a higher resolution or access to unique third-party apps. For amateur and professional photographers alike, it’s all about the camera.

That’s why we’ve put together a list of five tips for taking captivating shots with your new iPhone X and its two impressive 12 megapixel rear cameras.

1. Learn to Use Portrait Mode

One of our favourite things about the iPhone X is its finely tuned ability to separate the subject from the background. Utilizing portrait mode will help you create a bokeh effect. Put simply, this effect causes the background to soften while keeping your subject crisp and sharp for a portrait that really pops.


“For the most effective use of portrait mode, make sure you’re positioned around 6-8 feet of your subject.” — Lori Janeson


The iPhone X has a clever inbuilt system that will instruct you to ‘move closer’ or ‘move further away’ to get into optimum position for your shot.

2. Try out the Flash

Gone are the days when using flash meant risking completely washing out your image.  Using iPhone X’s latest technology, Slow Sync, your camera can now capture warm-toned, flattering images in low light using Quad-LED True Tone flash. This mode is perfect for dimly lit restaurants or outdoor settings after sunset.

3. Use a Tripod in Low Lighting

One way to dramatically increase the odds of getting a sharp image after dark is to use a tripod. The less light available, the longer the exposure required. This means that you’ll need to keep your iPhone X steady and stationary for a longer period to avoid blurring. Fortunately, with smartphone photography growing in popularity, there are stacks of compatible mounts and tripods available that won’t break the bank or take up much space.

4. Take Photos in Bursts

While not a new feature, we encourage you to revisit the burst feature on your new iPhone X to increase your chances of getting a killer shot. Burst mode allows you to shoot 10 pictures per second by holding down the shutter button. This mode is ideal for family photos, where at least one person is bound to blink!

5. Experiment with Live Photo Effects

Another feature that has improved with the introduction of the iPhone X is Live Photo Effects. Now you can capture waterfalls or flickering flames in all their glory by using the Long Exposure effect. Also be sure to check out ‘Bounce’, iOS’s built-in version of Boomerang. This effect plays the frames of your video then immediately reverses them in a boomerang effect.

And there you have it, using these five tips, you’ll be able to wow family and friends with the quality of your iPhone X photos.


Lori Janeson is a nature photographer living in Winnipeg, Manitoba.

How to Photograph Wildlife the Right Way

By Lori Janeson

Taking pictures of wildlife is a bit trickier than taking photos of the stunning landscape around Lake Winnipeg. The landscape may not move, but animals do.

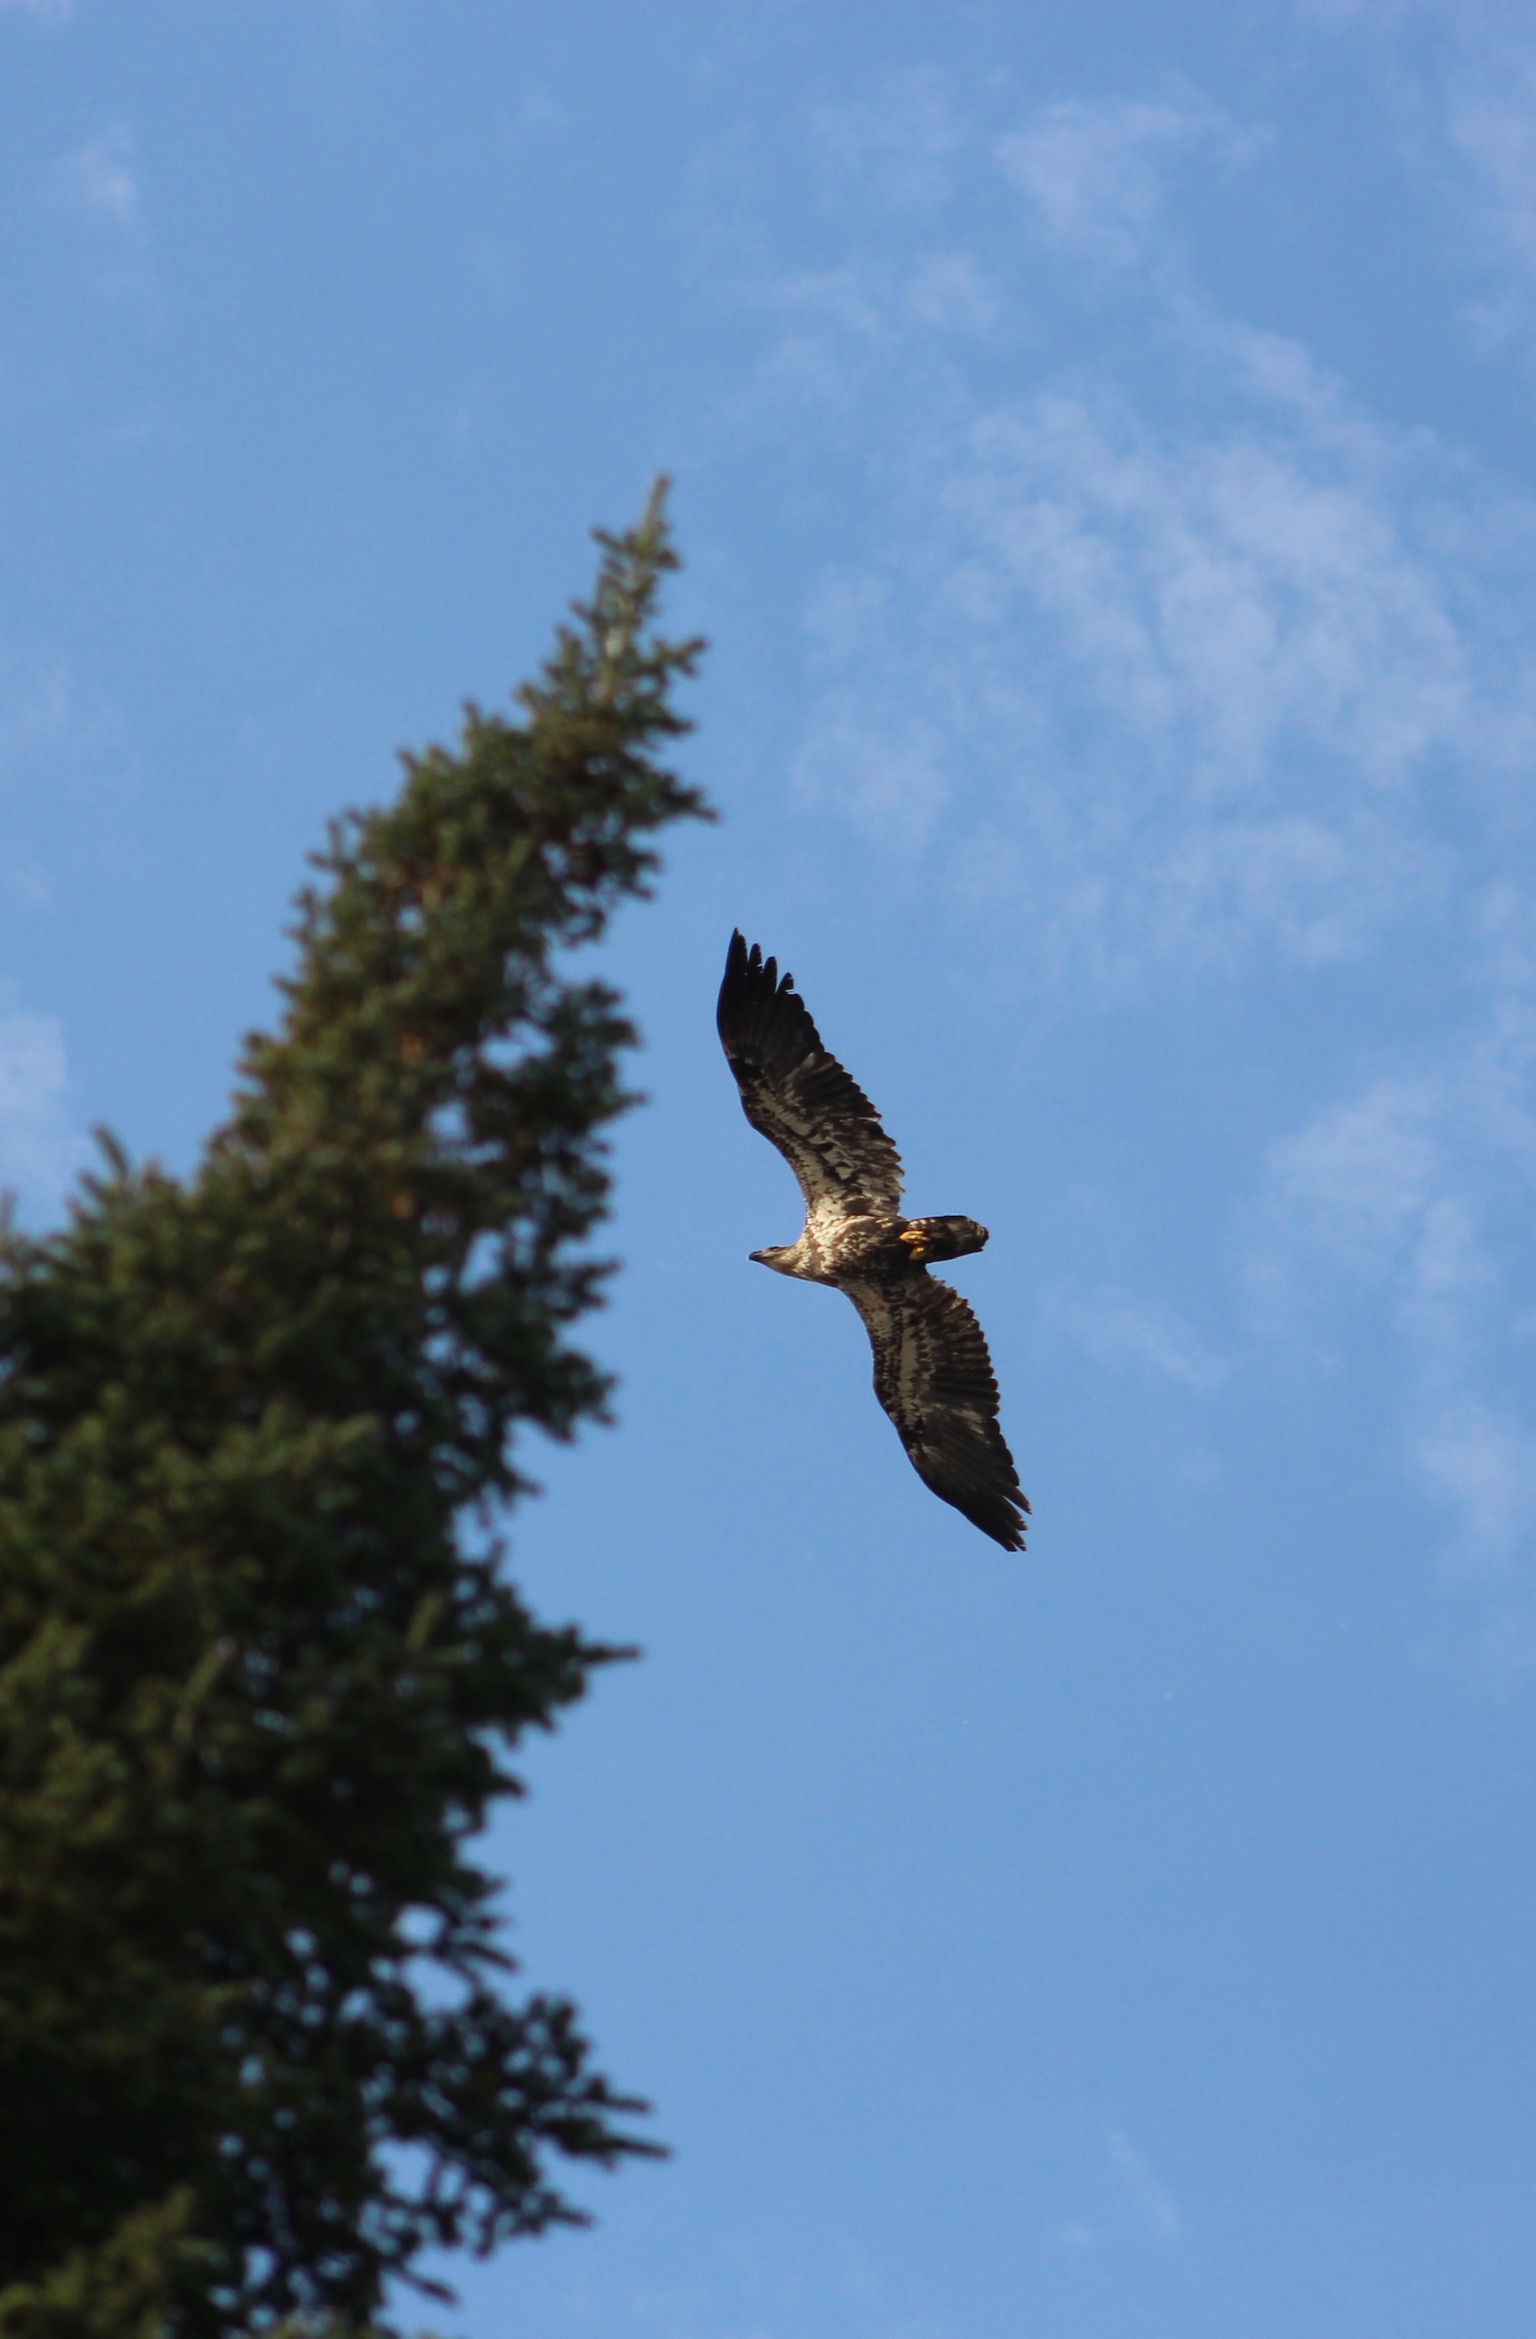
If you’d like to take better wildlife, whether it’s birds or moose, follow these tips to get better photos.

Tip 1: Practice Before You Head Out

Practice taking backyard photos with the camera you intend to use to shoot wildlife. Try taking photos of birds from a variety of distances and in various lighting. Adjust your camera settings and learn to create the best possible shots when you’re calm and relaxed. Practice changing settings until you can do it without looking at your camera.

Tip 2: Cultivate Patience

When it comes to photographing wildlife, remember that you’re not in control of the situation. The bird, moose or other wild animal is. Much of the time, you’ll be waiting for wildlife to arrive or move or do something. You’ll have to be patient.

Tip 3: Learn About Your Subject

You can’t just head out any time hoping to get a picture of a black bear. Wildlife follows its own patterns and before you try to capture an animal’s essence, study its behavior and normal activity.


“Learning about an animal’s behavior gives you a much better chance of capturing an amazing moment.” — Lori Janeson


Learn where your subjects typically inhabit at a given time of the year, read about their food sources and research typical behavior.

If at all possible, observe your subject animal over a period of time. Then when the real action happens, you’ll be ready.

Tip 4: Learn the Photography Rules for Wildlife

The rule of thirds, where you picture your subject within a square or line intersection of grid of nine equal squares, is as important when you shoot wildlife as it is in other types of photography.

When you photograph wildlife, however, the subject’s eyes become important. Eye contact is often considered the prime example of fine wildlife photography because an image of a wild animal looking at the camera seems more alive.

That’s not to say that the only way to take a dramatic photo of an animal is if it’s looking straight at you. In fact, many of the best wildlife photos are of animals being themselves; doing what they do naturally.

Don’t be afraid to break the rules to get great pictures.

Tip 5: Use Nature’s Light to Your Advantage

The sun is the perfect partner when it comes to shooting wildlife. Early morning and the light just before dark are ideal lighting conditions. Afternoon sun is typically too harsh, but if you’re willing to get up early and catch the animal at sunrise, you just might take a masterpiece.

Overcast skies have their own special aura. Clouds provide a natural light filter that let you photograph any time during the day.

As for the position of the sun and the light rays, the consensus is you should never shoot directly into the sun. The only problem with that is you may not always be able to move to a better position when you’re watching and waiting for an awesome wildlife moment to photograph. Experiment with your camera’s settings and take pictures anyway. You just might come up with a great shot even if you break the rules.


Lori Janeson is a nature photographer living in Winnipeg, Manitoba.